Tag Tutorial created by ®ivice2006
Last Updated: May 2017
Level: Intermediate.
Tools: PSPX
Targeting: Gradients, Texture, PSP effects
All materials included *
Tested in newer versions of PSP
Including Corel PSPX7
..:: TERMS OF USE :
The materials I use belong to the artist who created,
Please don’t change the name or use them for your own tutorials.
..:: MATERIALS ZIP
Donwload here♥
- Tube- SS_1090_Tube_AC
- Tube- SS_1047_Misted
- Tube- gerberamisted-sdh
- Gradient- ivice_purple2
- Texture- jb-229
- Selection- ivice_inspiration#1
Font SF Outer Limits ExtUpright can be Download HERE
Install Gradient ,Selection and texture in your PSP folders
..:: STEPS
Open Tubes in PSP
1..:: Make a new Transparent image 550×500 pixels
(You can experiment with the size of your tags
For the purpose of this tutorial I am using this settings)
2..:: In the color palette set colors to
FOREGROUND #a5c4d4,
BACKGROUND #d3aee8
3..::Make a FOREGROUND/BACKGROUND GRADIENT
and look for “ivice_purple.PSP gradiente”
with this settings:
4..:: Flood fill the image with this gradient and
MENU–> ADJUST–>BLUR–>GAUSSIAN BLUR-> 6
5..:: In the layer palette ADD A NEW LAYER
and using the same gradient Select “Texture jb-229”
with the following settings

6..:: Set the BLEND MODE on this layer on OVERLAY
7.:: In the layer palette ADD A NEW RASTER LAYER and
Menu SELECTION–>LOAD selection from disk–>“ivice_inspiration#1”
8..: Flood fill the selection with the same gradient
Un check TEXTURE and use this settings:

9..: With the selection still running
ADJUST–>BLUR–>Gaussian blur–> 5
SELECTIONS–>Select none
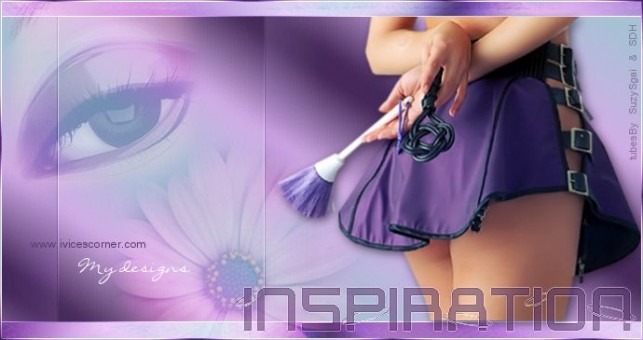
This is what we got so far
10..: EFFECTS–>imagen effects–>SEAMLESS TILING
with the following settings
11..: EFFECTS–>EDGE EFFECTS–>ENHACE
12..: Copy and Paste AS NEW LAYER tube “SS_1047_misted”
13..: Resize to 62% and put into it’s place with PICK TOOL
14..: Set BLEND MODE of this layer to SOFT LIGHT
15..: Copy and paste AS NEW LAYER tube “SS_109-_tube_AC”
MENU IMAGE –>MIRROR
Resize to 93% , put into place with PICK TOOL
This is what we have until now
16..: EFFECTS–>EFFECTS–>3D EFFECTS–> DROP SHADOW
17..: Copy and Paste AS NEW LAYER tube “gerbera-sdh”
Change BLEND MODE TO OVERLAY
and OPACITY on 55%
18..: Set FOREGROUND COLOR #a5c4d4
and BACKGROUND #5d3d6f
19..: Select TEXT TOOL ” font SF Outer limits Extupright”
let’s add our signature using this settings
![]()
TIP: Play between lower cases and capital letters
to get the effect of some letters having rings on them.
Don’t forget to add your credits.
20..: Change OPACITY on this Text layer to 53%
21..: EFFECTS–>EDGE EFFECTS ->ENHACE
This is what we have so far

22..: LAYERS–>MERGE VISIBLE
23..: In the layer palette ADD A NEW RASTER LAYER
Make a foreground/background gradient
With the following settings
24..: Flood fill the new layer with the gradient
SELECTIONS–>SELECT ALL
SELECTIONS–>MODIFY –>CONTRACT in 2
Hit DELETE in your keyboard and this what we get
25..: SELECTIONS–>SELECT NONE
EFFECTS–>EDGE EFFECTS –>ENHACE
LAYERS–>MERGE VISIBLE
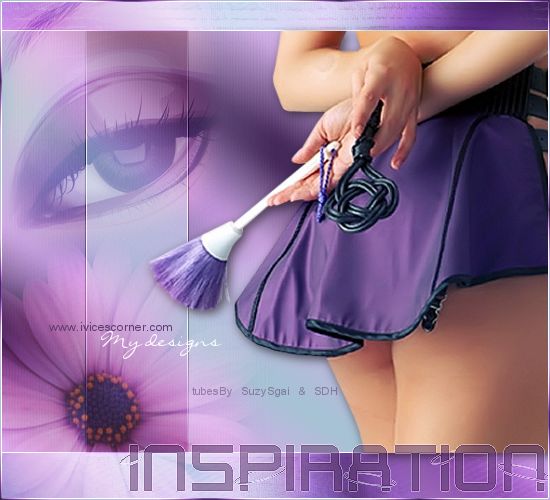
and we are done!!

If you would like to share your results with me,
You are more than welcome to post them in my
FACEBOOK PAGE
I would so love to see them 
loVE iS tHe WaY !
![]()
 English
 Spanish
 Dutch
Dutch
0 comments
No comments yet